
Menu

 3.5
km
return
3.5
km
return
 2
hrs
2
hrs
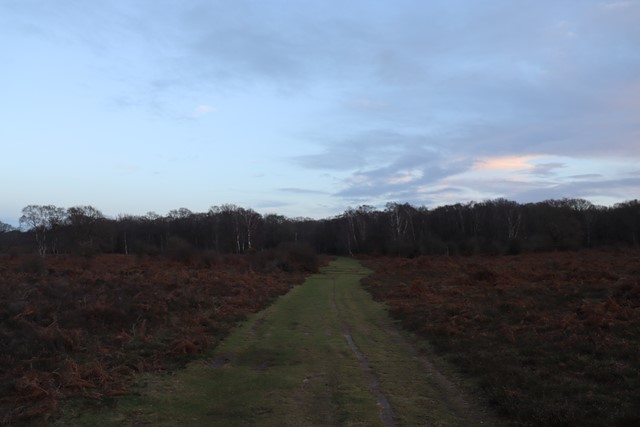
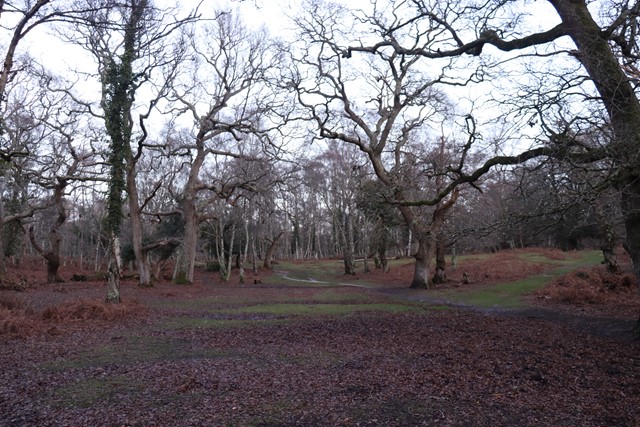
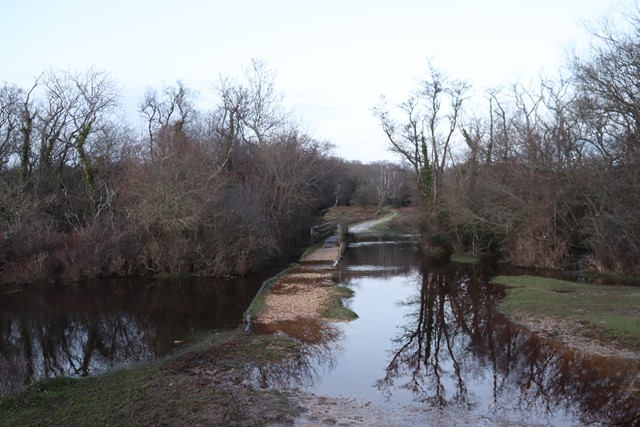
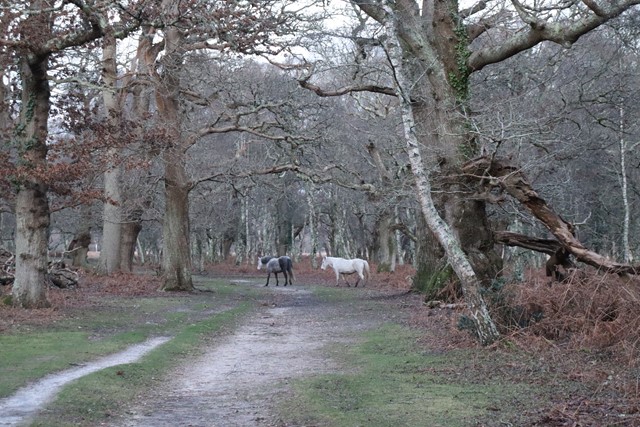
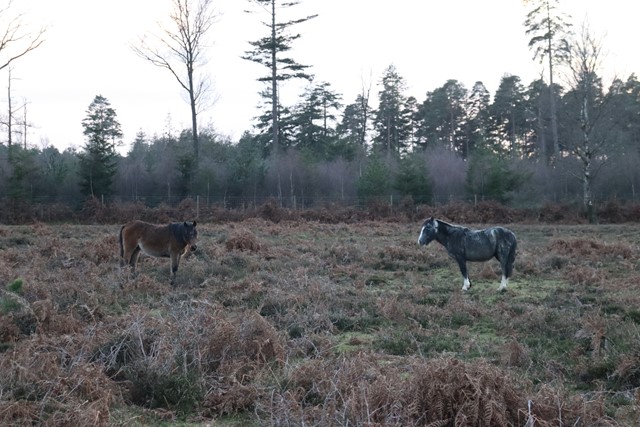
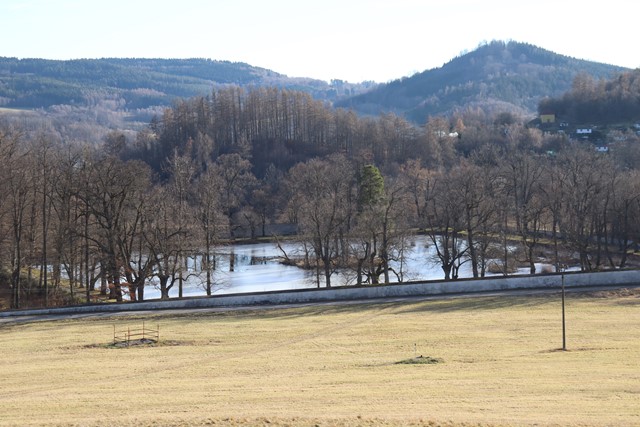
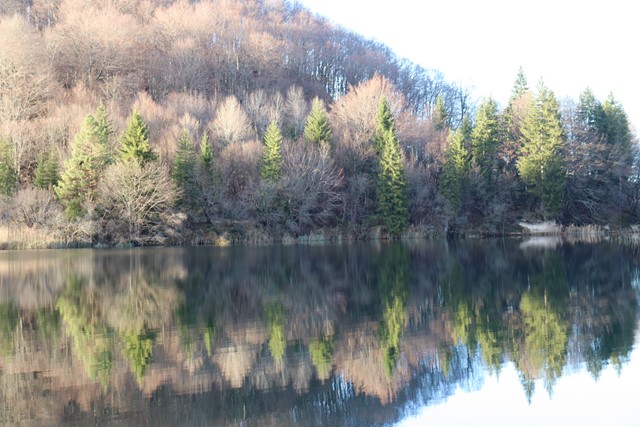
Pig Bush and Penny Moor
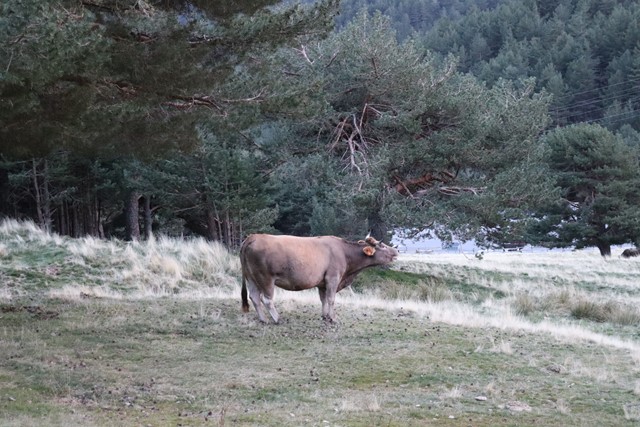
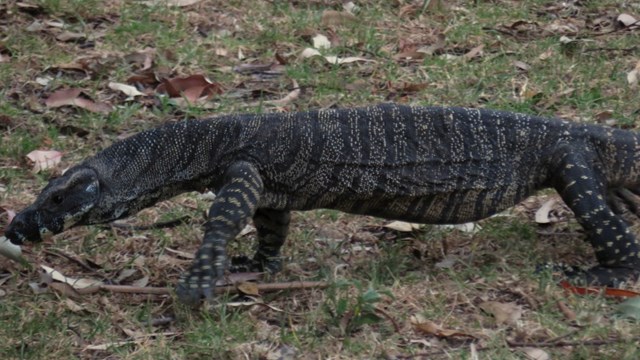
This short circular walk takes you through the Pig Bush and out onto the moor also passing over Shepton Water which can be quite boggy to cross over. A nice introductory walk to the New Forest National Park. Make sure to keep an eye out for New Forest Ponies.
 2
km
return
1
hr
2
km
return
1
hr
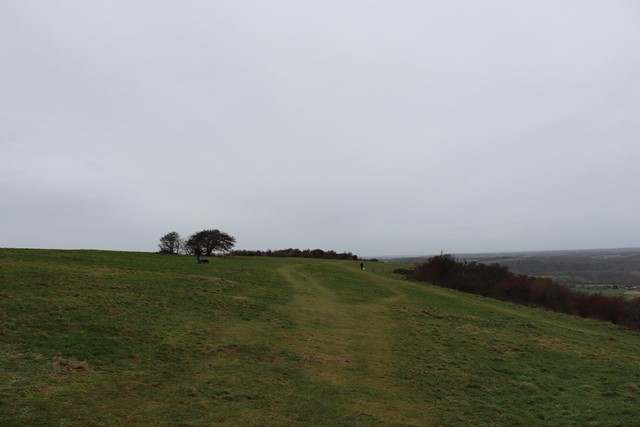
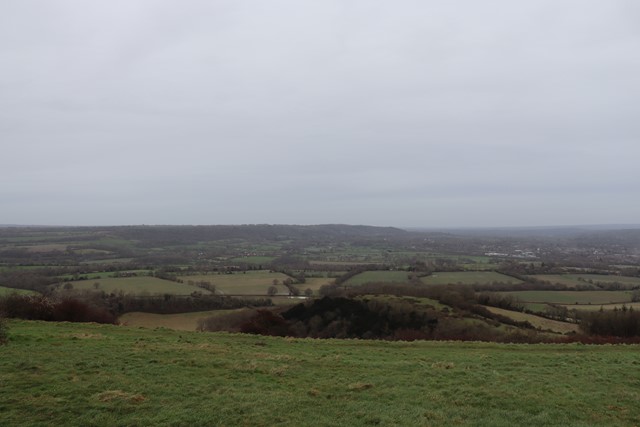
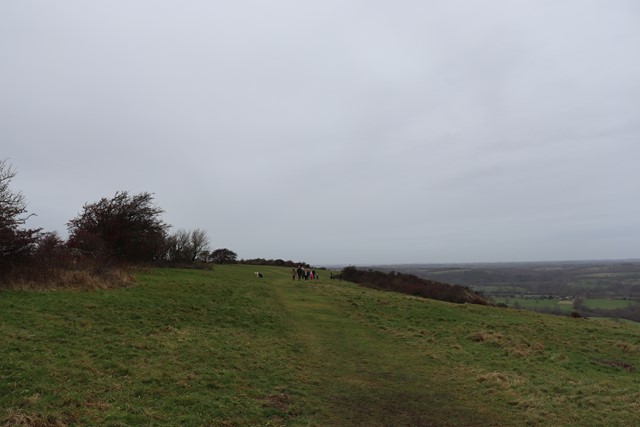
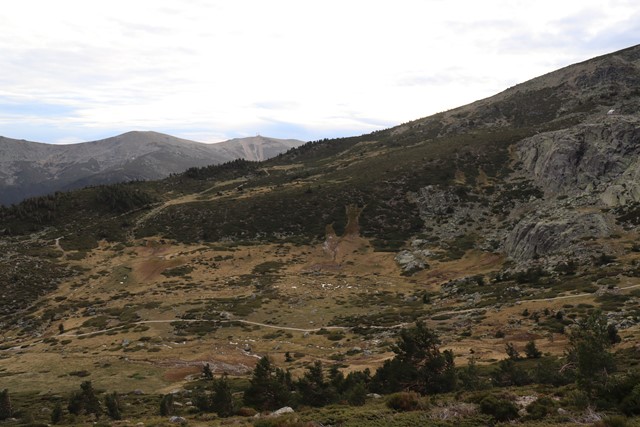
Butser Hill
Butser Hill at 271 metres classify's as a Marilyn (peaks and hills in Britain with at least 150m prominence) and is the second highest peak in the Southern Downs National Park.
 5
km
return
3
hrs
5
km
return
3
hrs
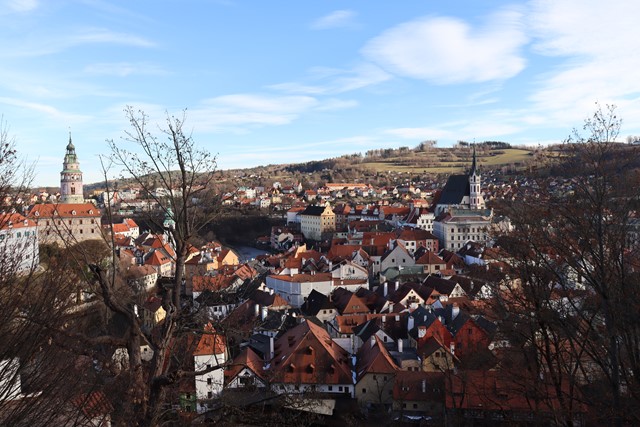
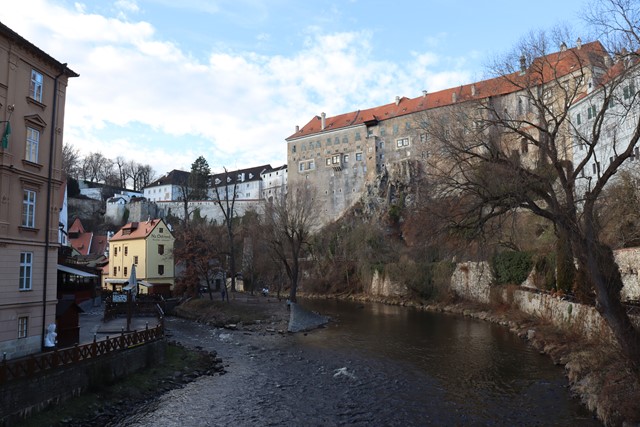
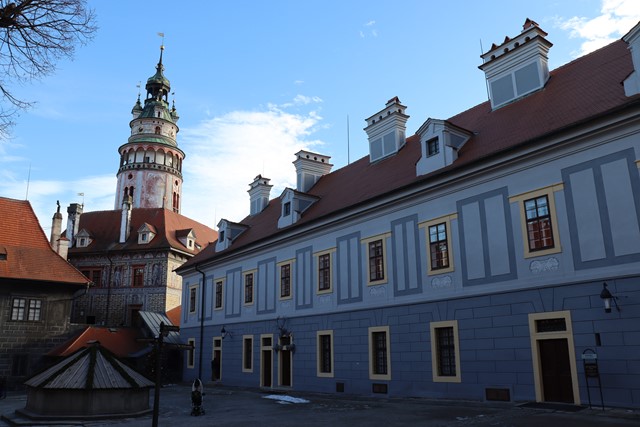
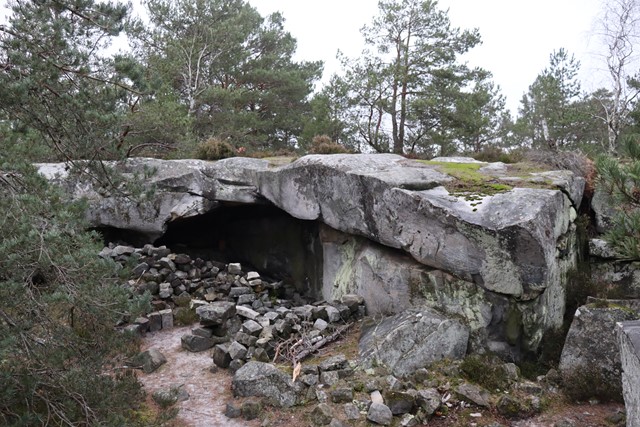
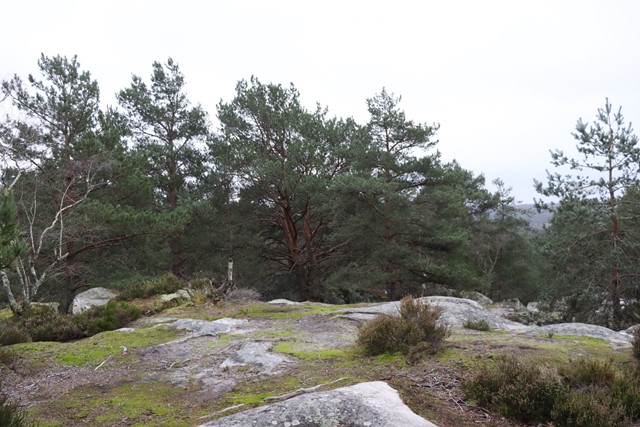
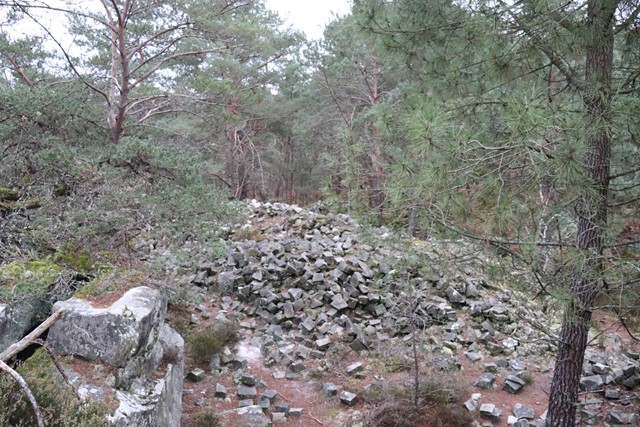
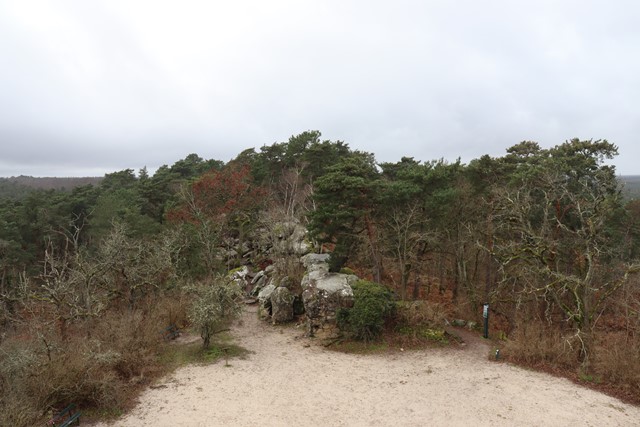
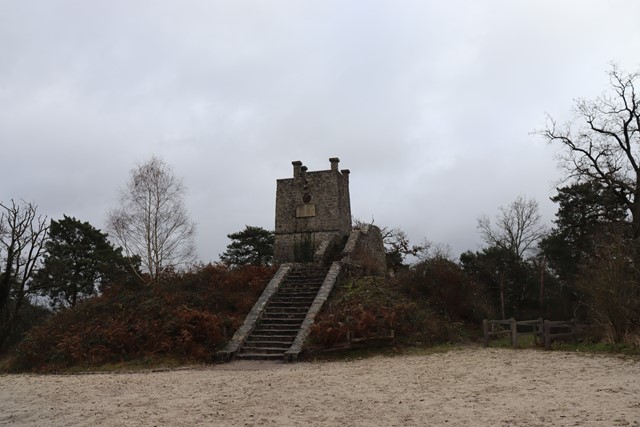
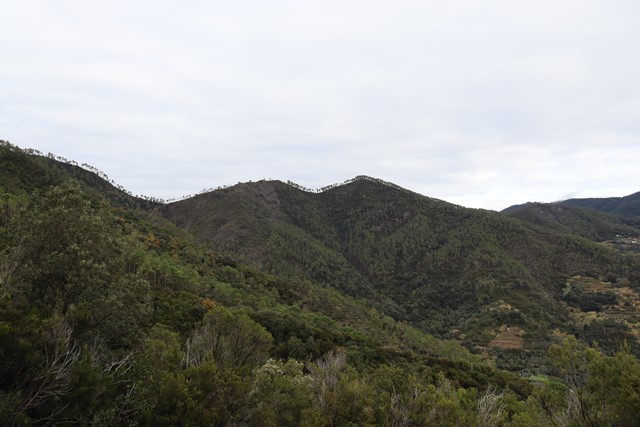
Český Krumlov & Ptačí Hrádek (Bird Castle) Loop
A loop around the scenic town of Český Krumlov and the surrounding countryside which includes the castle gardens, a pilgrimage route, Ptačí Hrádek (bird castle) a forested hill which hides a monument and historical water reservoir remains.
 4.5
km
return
3
hrs
4.5
km
return
3
hrs
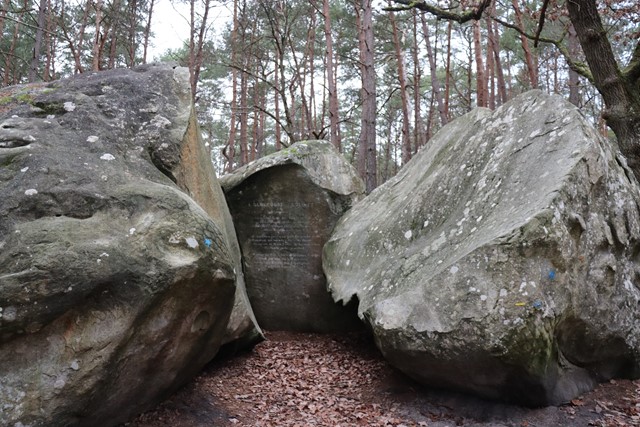
Le Mont Aigu & La Bombarde
A walk in Fontainebleau Forest to Le Mont Aigu (123m) and then across to La Bombarde.
 6
km
return
3
hrs
6
km
return
3
hrs
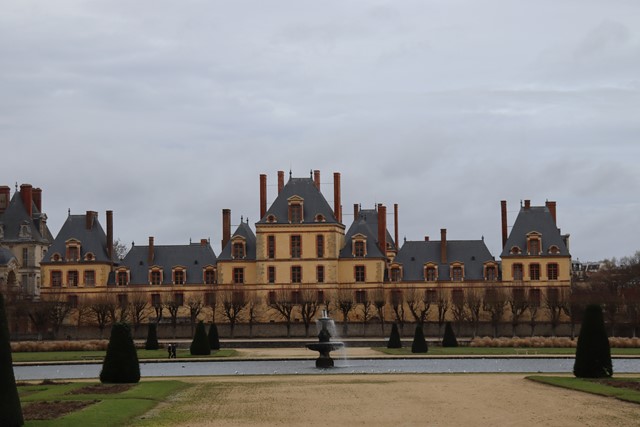
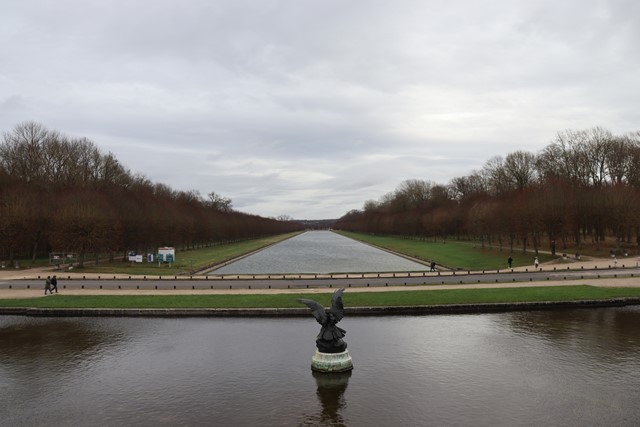
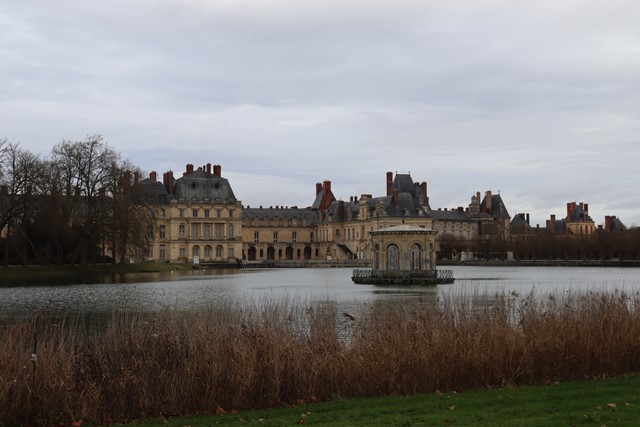
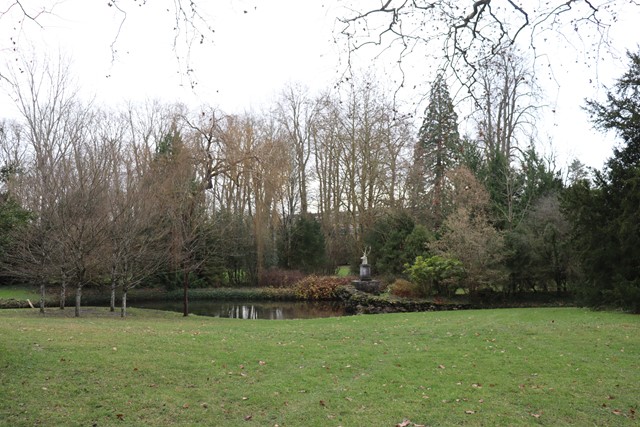
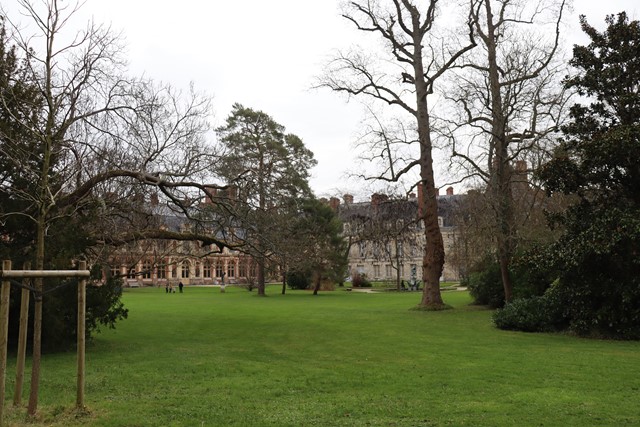
Park and Gardens of Fontainebleau Château
A walk around the Park and Gardens of Fontainebleau Château with the option to visit the Fontainebleau Château.
 5.8
km
return
3
hrs
5.8
km
return
3
hrs
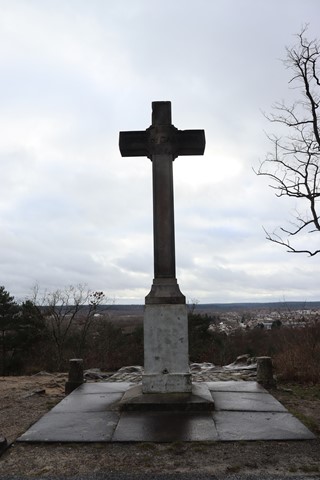
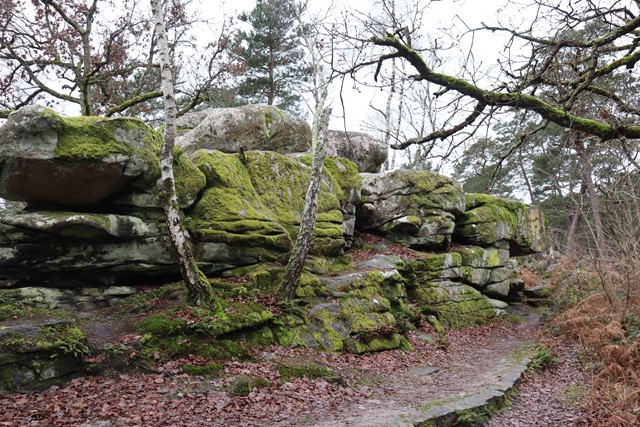
Roche Eponge - Tour Denecourt - Croix du Calvaire
A route through the Fontainebleau Forest to the Roche Eponge then the Tour Denecourt and finally the Croix du Calvaire.
 4.5
km
return
3
hrs
4.5
km
return
3
hrs
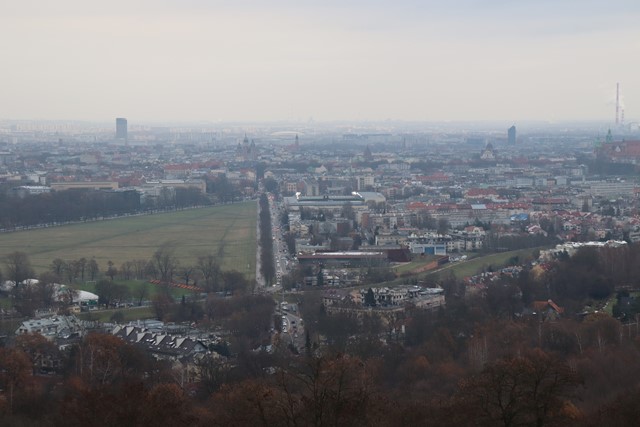
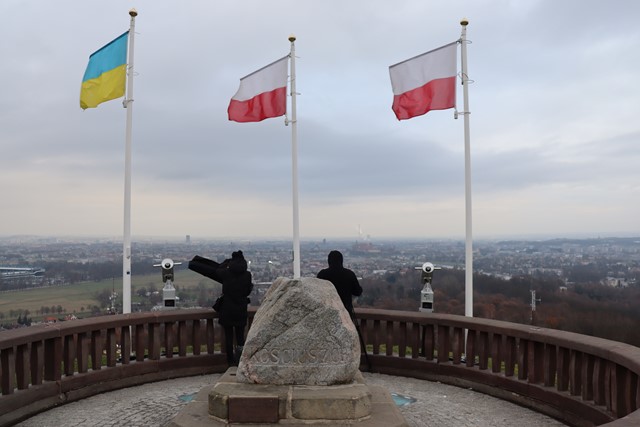
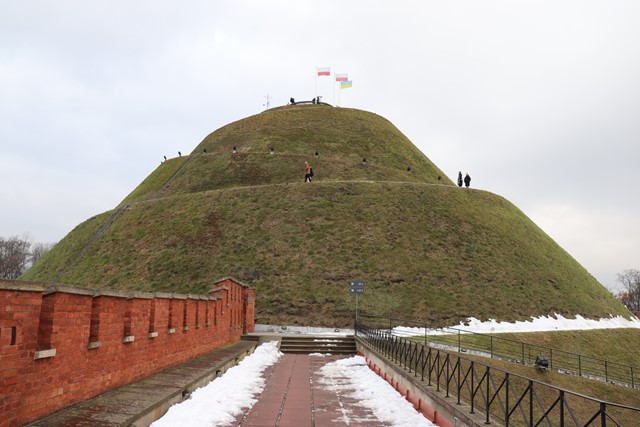
Kościuszko Mound to Sikornik
The legendary Tadeusz Kościuszko who this memorial mound is named after also has the distinction of having Australia's tallest mountain named after him (Mount Kościuszko), so undertake this walk to discover a little more about the man.
 6
km
return
3
hrs
6
km
return
3
hrs
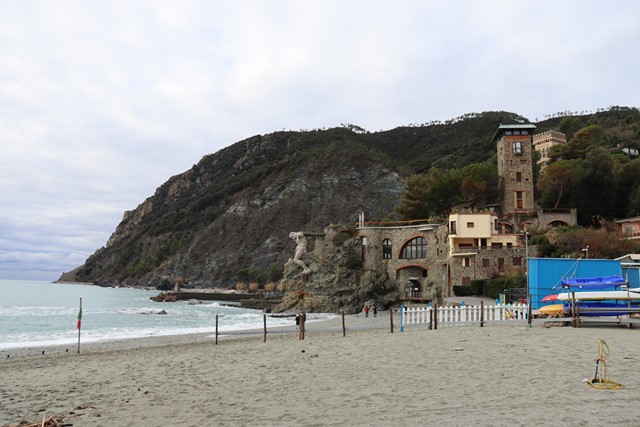
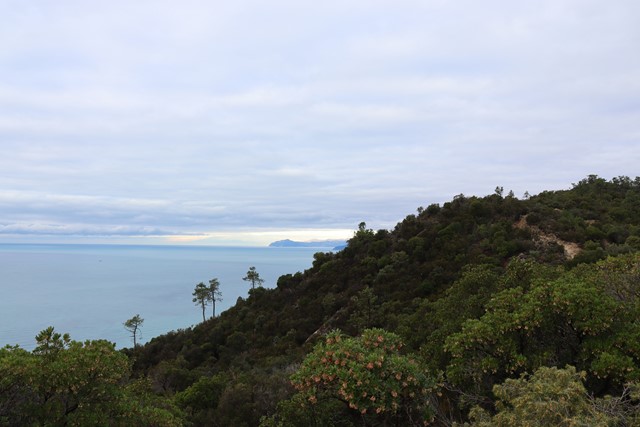
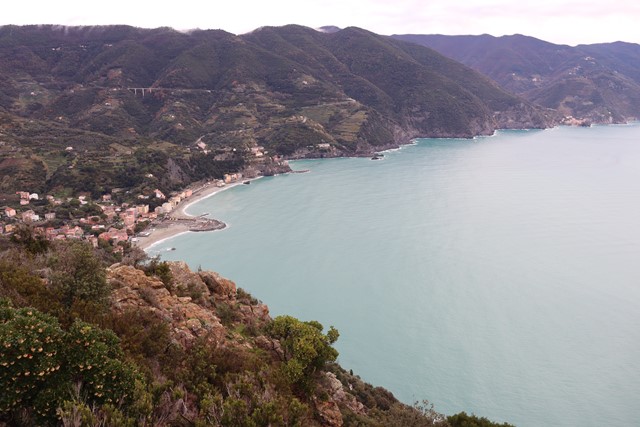
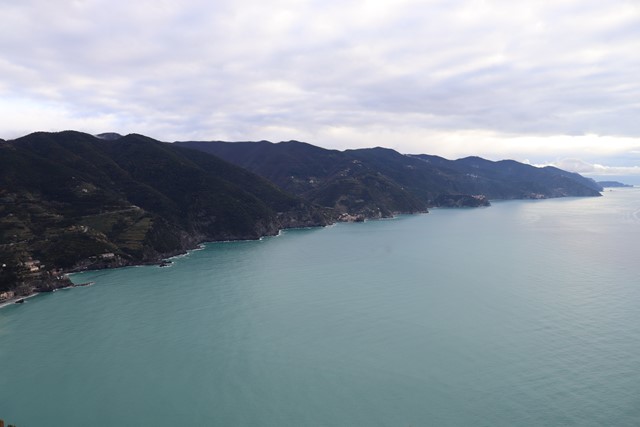
Punta Mesco from Monterosso al Mare
A walk in Cinque Terre National Park from one of the five towns Monterosso al Mare to Punta Mesco which offers a vantage point of the five towns and the coast.
 15
km
return
5
hrs
15
km
return
5
hrs
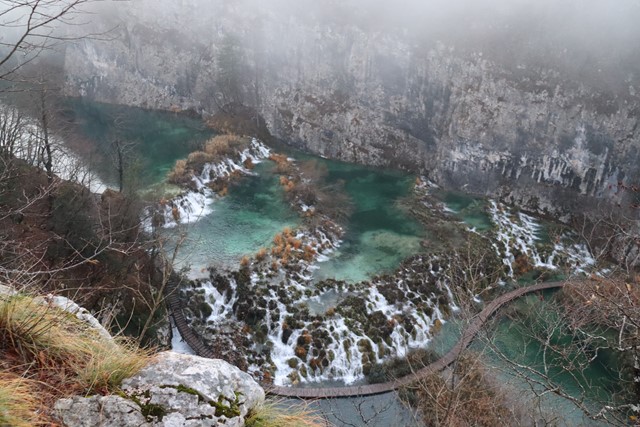
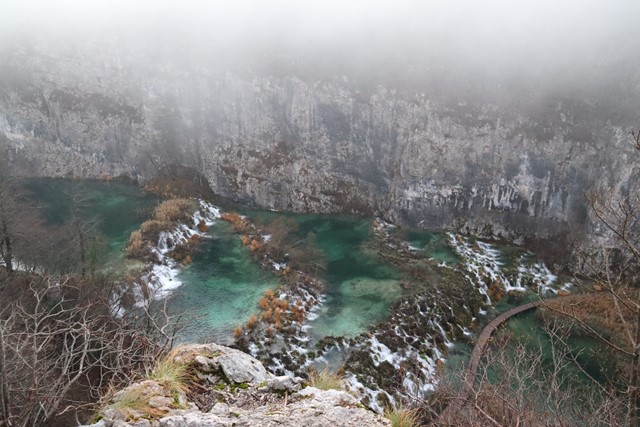
Plitvice Lakes - Lower & Upper Lakes
This walk takes you through the entire lower & upper lakes section of the UNESCO world heritage Plitvice Lakes National Park.
 10
km
return
4
hrs
10
km
return
4
hrs
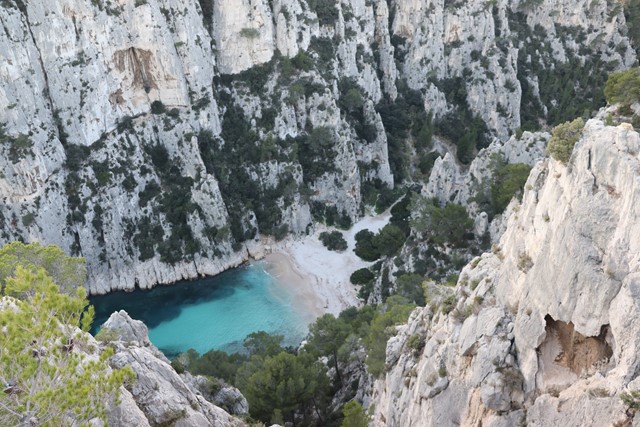
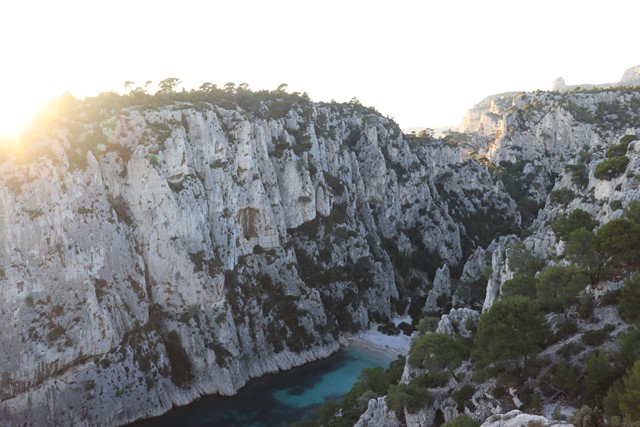
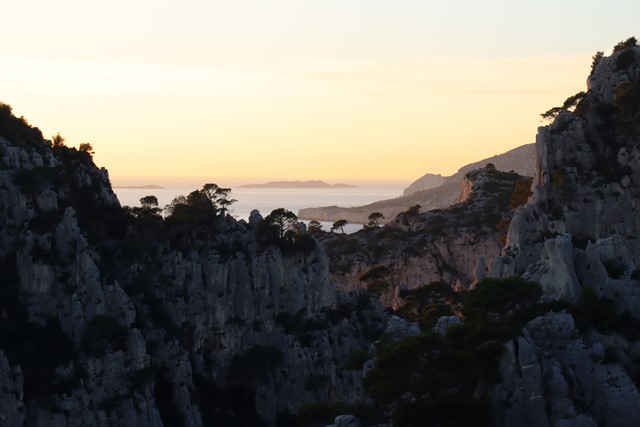
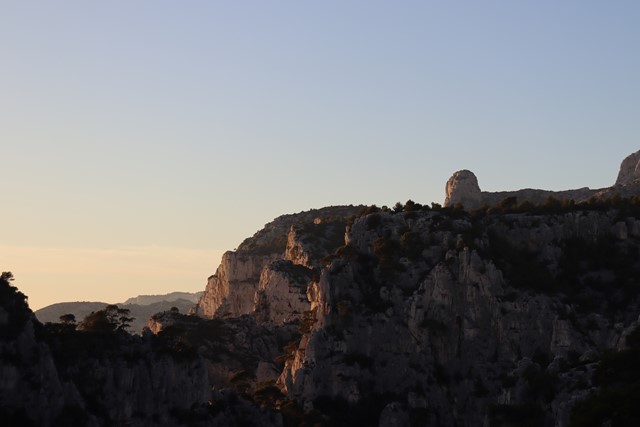
Calanque of Port-Miou, Port-Pin & En-Vau
A stunning walk in the Calanques National Park from Cassis which takes in three Calanques.
 10.3
km
return
4
hrs
10.3
km
return
4
hrs
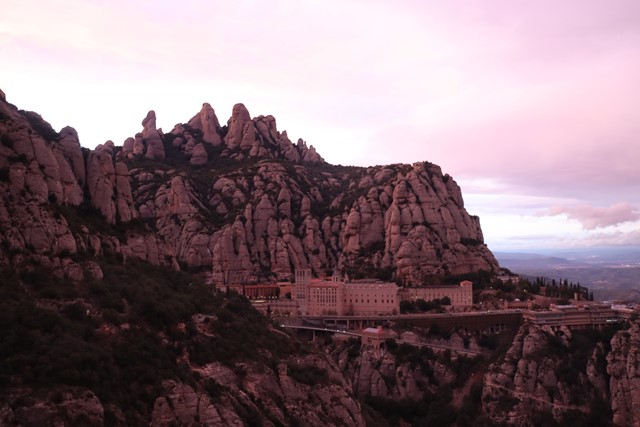
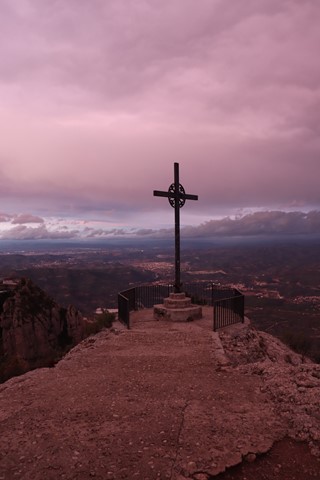
Sant Jeroni Circuit
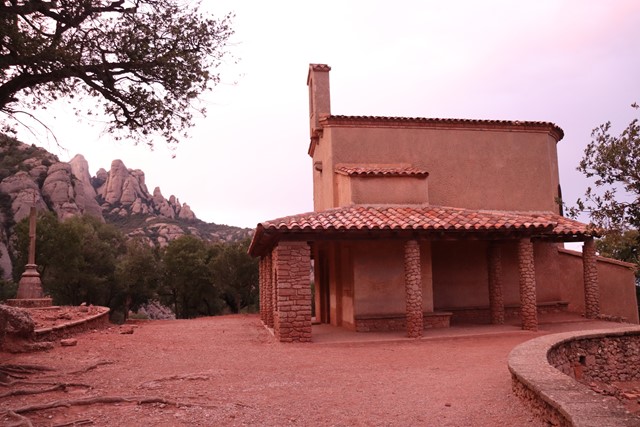
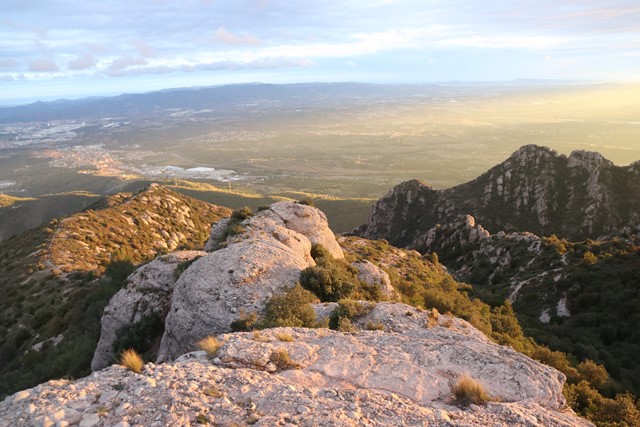
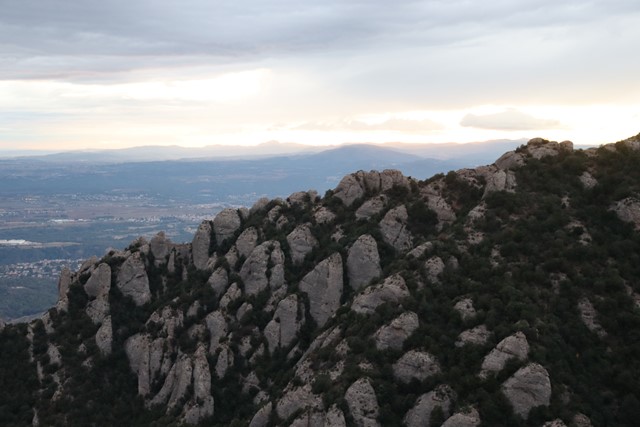
A walk to the highest point of the Montserrat Massif, Sant Jeroni (1237m) is an impressive spectacle right from the start as you begin your walk from the majestic Monestir de Montserrat. This manmade wonder is only the beginning as you will spend the rest of your day wandering amongst towering rock spires. This is not a walk to miss if ever your in the area.
 3
km
return
2
hrs
3
km
return
2
hrs
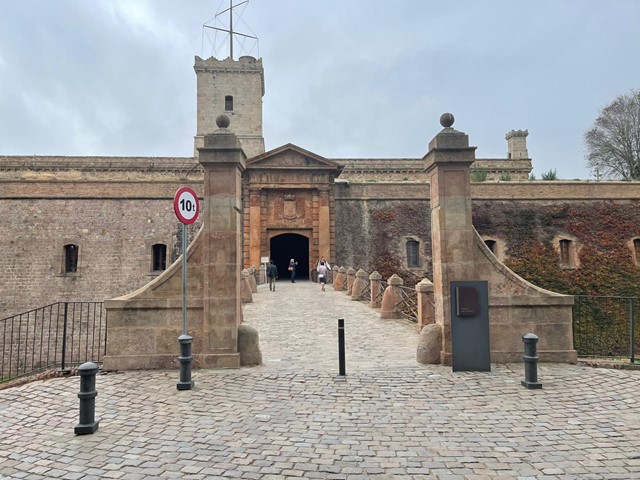
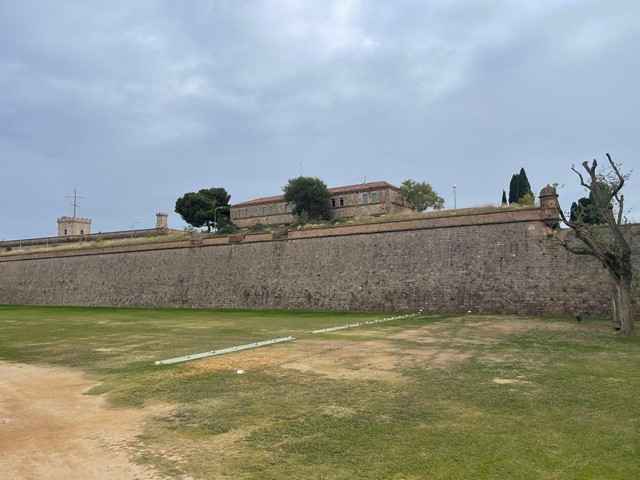
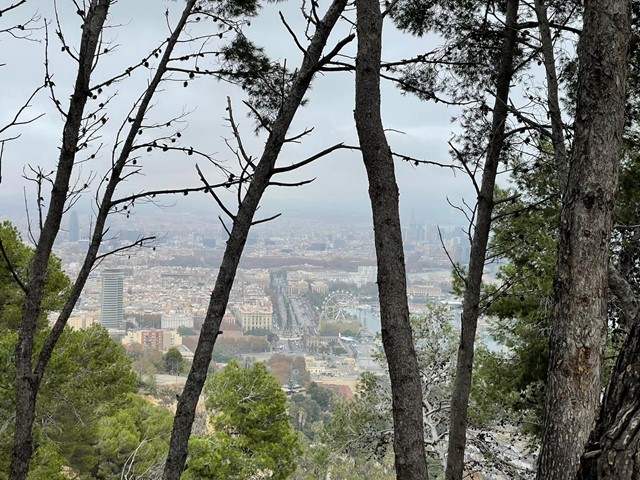
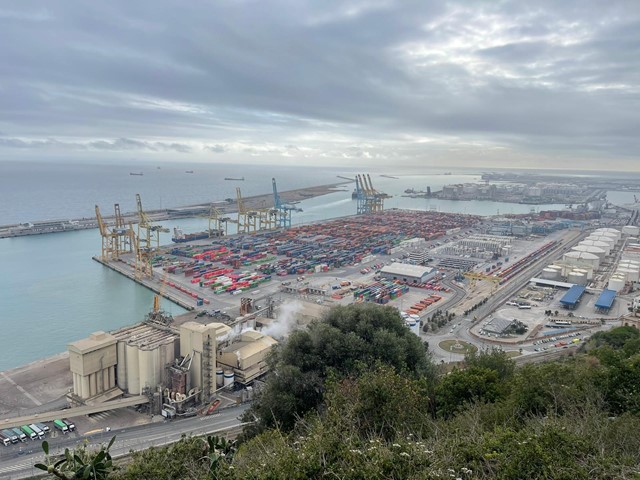
Montjuïc
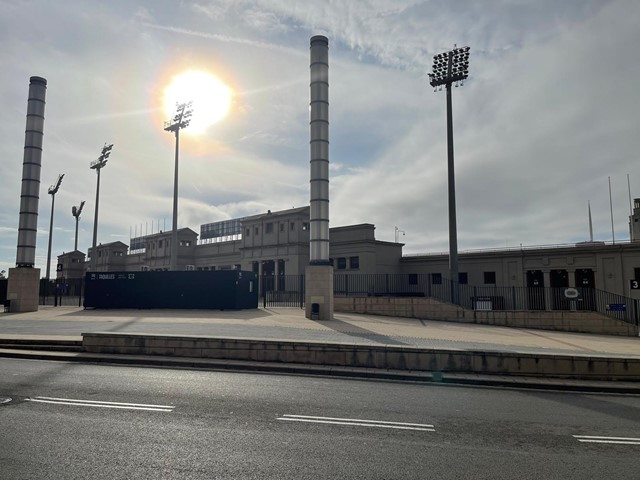
A ramble around the parks of Montjuïc (177m) which offers great views over the city of Barcelona and it's port on the Mediterranean Sea as well as Montjuïc Castle & the Barcelona Olympics Stadium & museum.
 12.2
km
return
4.5
hrs
12.2
km
return
4.5
hrs
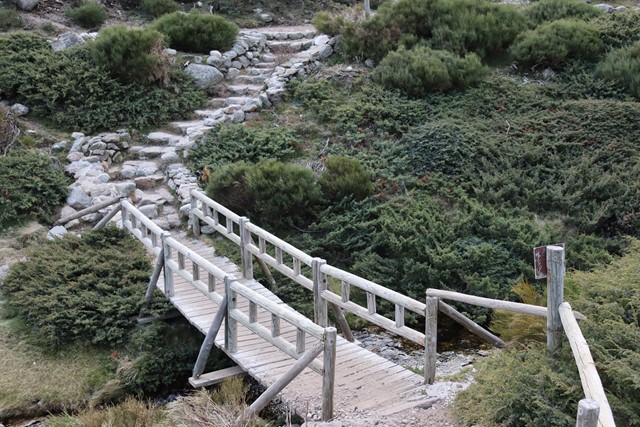
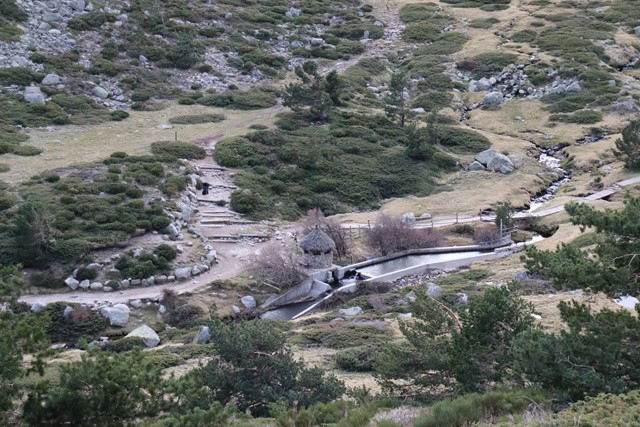
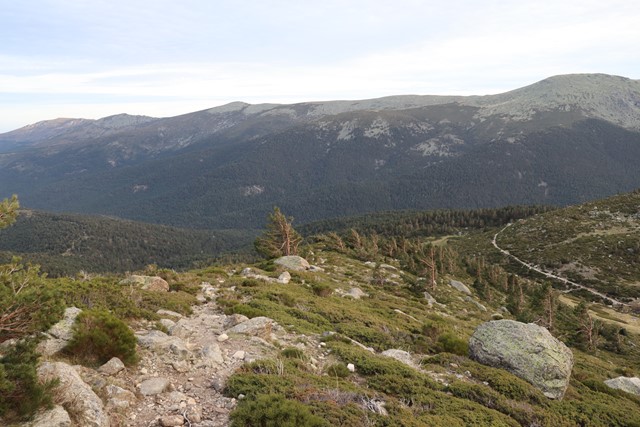
Peñalara Circuit
Climb Peñalara (2428m) the highest peak in Spain's Sierra de Guadarrama National Park and in the entire Province of Madrid. This walk combines mountain ridge walking with stunning views as well as the lagunas (lakes) that lie below the ridge.
 15
km
return
4
hrs
15
km
return
4
hrs
Maclear's Beacon via India Venster and Platteklip Gorge
Fantastic walk up India Venster, across the plateau of Table Mountain to Maclear's Beacon, and then descend down the Platteklip Gorge. Great walk to some of the highlights of Table Mountain
 4.9
km
return
4
hrs
4.9
km
return
4
hrs
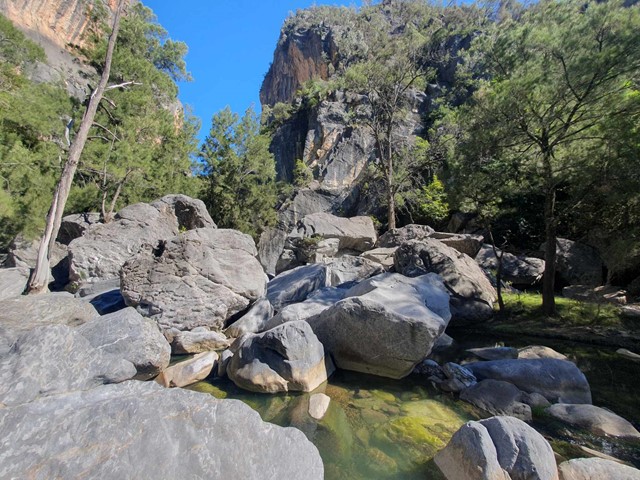
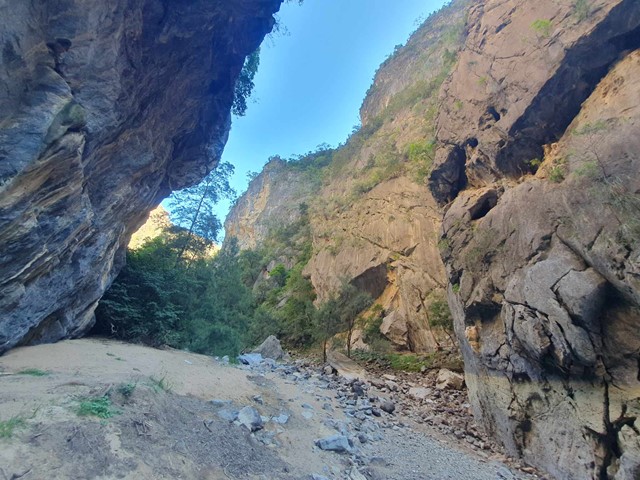
Bungonia Gorge Red Circuit
A steep descent into the Bungonia Gorge going into a trackless scramble through the boulder field followed by a steep ascent back out of the gorge with a sidetrip to the top of the nearby Mt Ayre.
 5
km
return
2
hrs
5
km
return
2
hrs
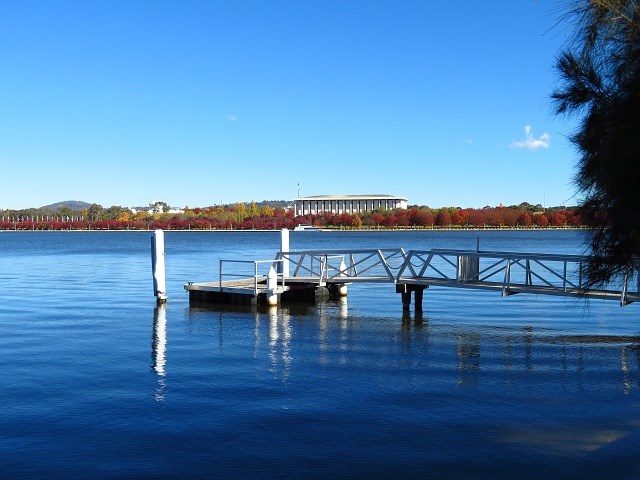
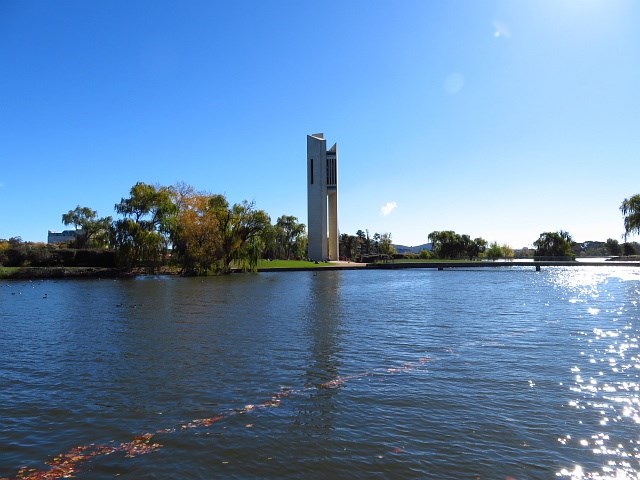
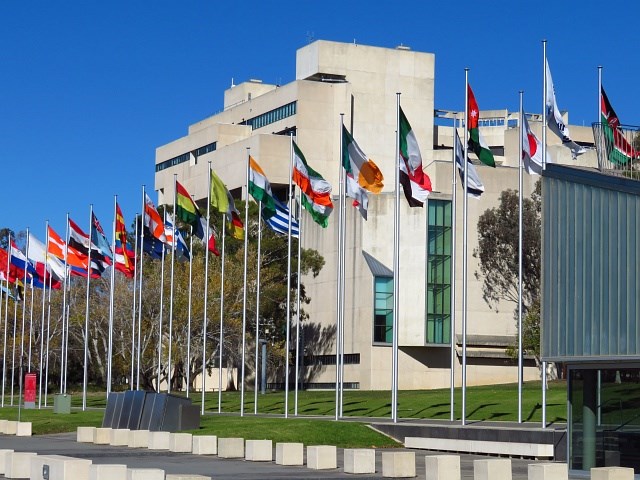
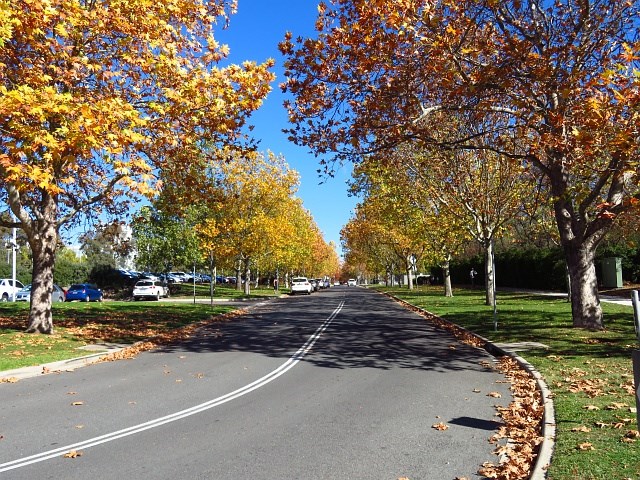
Lake Burley Griffin Circuit (Bridge to Bridge)
Stroll around Lake Burley Griffin and enjoy the national attractions, cafes and parks you’ll find along the way. Do as the locals do and do the ‘bridge to bridge’ walk (Commonwealth Bridge to Kings Avenue Bridge), then make your way to Commonwealth Park, the home of Floriade in spring, but perfect for visiting at any time of year.
 9.3
km
return
3
hrs
9.3
km
return
3
hrs
Godley Head Loop Track
This walk has great coastal views and historical WWII remains. These emplacements bring history to life through murals by Wongi Wilson.
4
km
return
80
mins
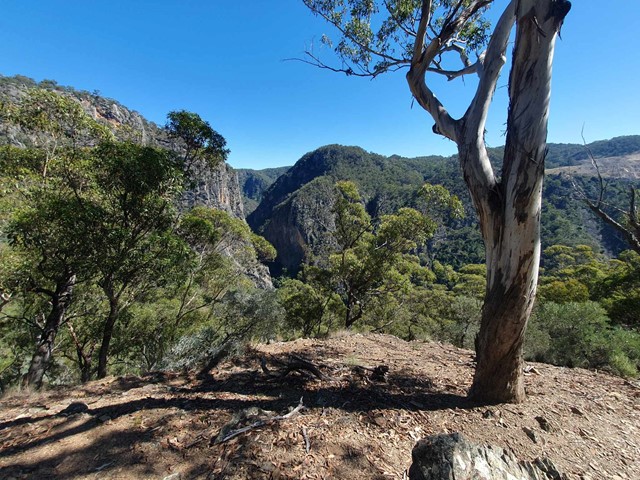
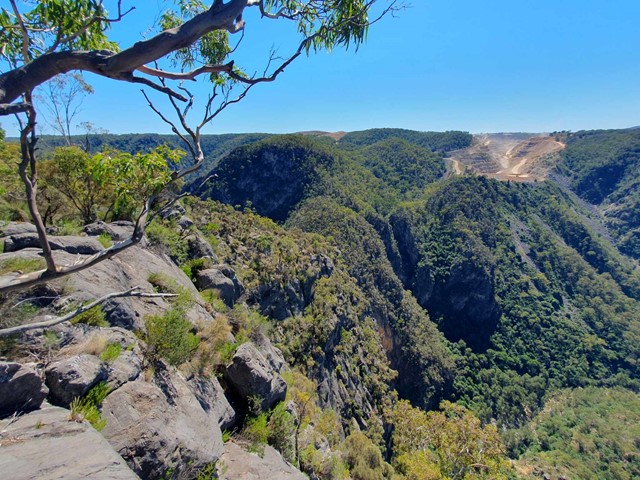
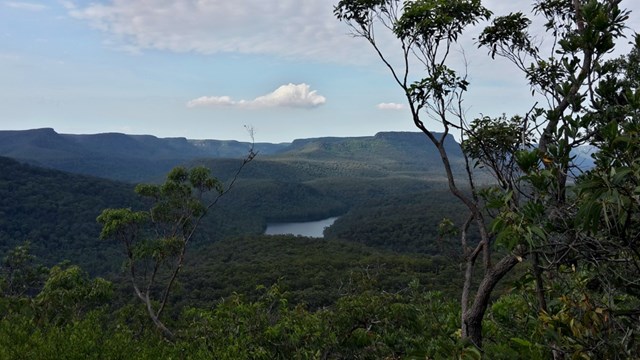
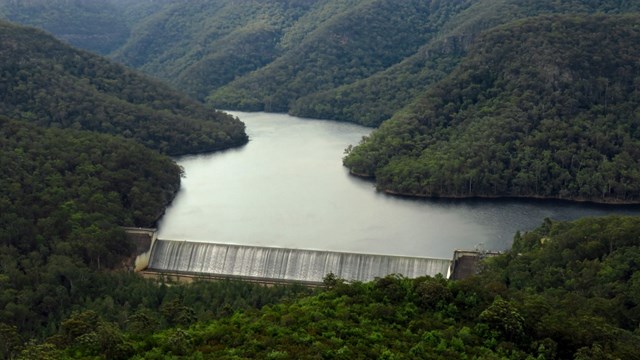
Tallowa Dam View
Tallowa Dam is the centrepiece of the Sydney Catchment Authority Shoalhaven scheme and was completed in 1976.
This walk is part of the Three Views Trail which has to be one of the easiest, most accessible and rewarding walks in Kangaroo Valley. The trail passes through open woodland and sandstone heath vegetation with spectacular wildflower displays in late winter and spring. There are three separate cliff edge sites with dramatic views over the Shoalhaven gorge towards the Ettrema Wilderness. The trail follows the Brooks Plateau and Moolatoo Trig fire trails within Morton National Park and is virtually flat, making it ideal for people of all ages and fitness levels; however, there are unfenced cliff edges. You can spend one or two hours doing the shorter walks or spend most of the day exploring all three.
 5.7
km
return
2
hrs
5.7
km
return
2
hrs
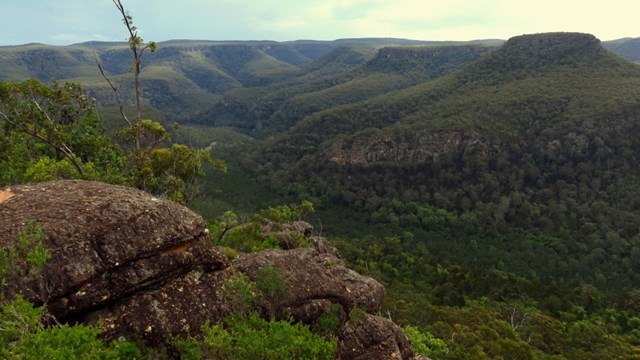
Shoalhaven River View
Views of the Shoalhaven River Gorge and across to the Ettrema Wilderness Area. Wilderness areas are large, remote and essentially unchanged by modern human activity.
This walk is part of the Three Views Trail which has to be one of the easiest, most accessible and rewarding walks in Kangaroo Valley. The trail passes through open woodland and sandstone heath vegetation with spectacular wildflower displays in late winter and spring. There are three separate cliff edge sites with dramatic views over the Shoalhaven gorge towards the Ettrema Wilderness. The trail follows the Brooks Plateau and Moolatoo Trig fire trails within Morton National Park and is virtually flat, making it ideal for people of all ages and fitness levels; however, there are unfenced cliff edges. You can spend one or two hours doing the shorter walks or spend most of the day exploring all three.
 3.4
km
return
70
mins
3.4
km
return
70
mins
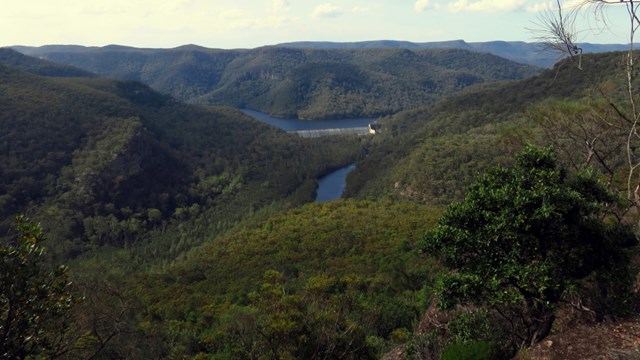
Lake Yarrunga view
Views of the stored water above Tallowa Dam.
This walk is part of the Three Views Trail which has to be one of the easiest, most accessible and rewarding walks in Kangaroo Valley. The trail passes through open woodland and sandstone heath vegetation with spectacular wildflower displays in late winter and spring. There are three separate cliff edge sites with dramatic views over the Shoalhaven gorge towards the Ettrema Wilderness. The trail follows the Brooks Plateau and Moolatoo Trig fire trails within Morton National Park and is virtually flat, making it ideal for people of all ages and fitness levels; however, there are unfenced cliff edges. You can spend one or two hours doing the shorter walks or spend most of the day exploring all three.